DNSCrypt is a new protocol for DNS queries, placing authentication onto regular lookup traffic. DNSCrypt helps prevent DNS spoofing using elliptic-curve cryptography to verify that responses haven’t been tampered with in transit. While queries are technically encrypted, DNSCrypt only guarantees authentication and not confidentiality. Nothing prevents the resolver from logging and often request/response sizes and timestamps are enough to fingerprint a user.
1. Download dnscrypt-proxy
This application is provided by dnscrypt.org and can be downloaded here. As of the time of writing, the latest version is 1.3.3. Since this guide is for Windows, download dnscrypt-proxy-win32-1.3.3.zip.
2. Extract dnscrypt-proxy
Open your downloaded file and extract the contents to your installation location; I placed them in C:/Program Files/DNSCrypt. There should be three files: dnscrypt-proxy.exe, hostip.exe, and libsodium-4.dll.
3. Install the service
Open the location of your dnscrypt-proxy.exe and Shift + right-click somewhere in the folder. In the menu, choose “Open command window here”. In the command line that opens up, type:
dnscrypt-proxy.exe --installThis will install the service, meaning you won’t need to start the program every time you restart your computer. Should you ever want to remove the service, follow the same steps as above but instead type:
dnscrypt-proxy.exe --uninstall4. Setup the DNS provider in the registry
The dnscrypt-proxy service will read settings from the Windows registry. For this guide, we will use the CloudNS resolvers. To do this, first we will open the registry editor by opening the start menu and searching for “regedit.exe”. Open it and you should see something like this: 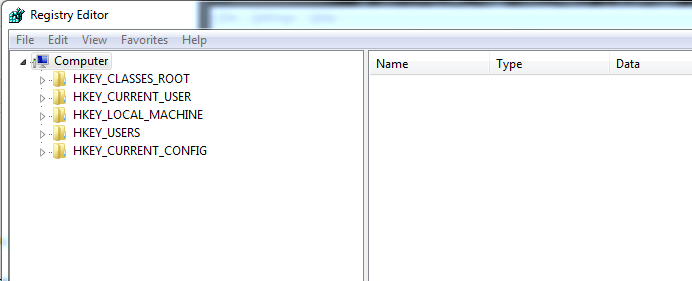
Note: Be very careful about editing things in the registry. You can mess up your computer badly.
Now we need to find this particular entry:
HKEY_LOCAL_MACHINE\SYSTEM\CurrentControlSet\services\dnscrypt-proxy\Parameters
It’s fairly straightforward to get to, just click through as if they were regular folders. You might need to create the Parameters key – if so, just right-click in the dnscrypt-proxy entry, choose New–>Key, and name it “Parameters”.
After this we set up the actual options for the proxy by creating subkeys as you can see in this screenshot:

For each subkey, right-click and choose New–>String Value and type in the name of the setting. Then double-click the new subkey and type in the desired value. Here are the settings I used:
LocalAddress 127.0.0.1
ProviderKey 1971:7C1A:C550:6C09:F09B:ACB1:1AF7:C349:6425:2676:247F:B738:1C5A:243A:C1CC:89F4
ProviderName 2.dnscrypt-cert.cloudns.com.au
ResolverAddress 113.20.6.2:443
5. Change your connection settings
These are the basic settings we need. Now we can close the registry editor and change the network settings in Windows to use the IP address we specified in the registry (which in this case is 127.0.0.1).
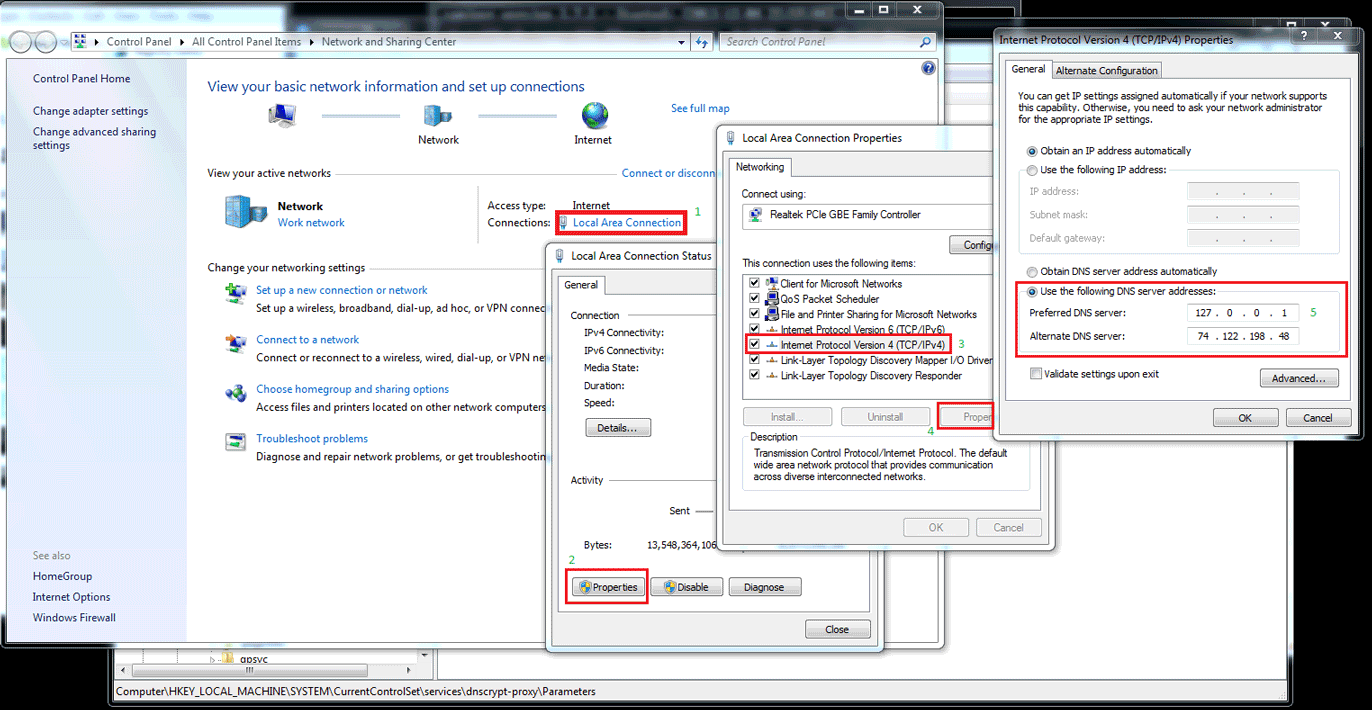 You can click for a bigger image.
Basically, just follow my MS-Paint guide above to set your DNS server to be your new proxy. The alternate DNS server can be whatever other DNS server you want to fall back on. I use one from the OpenNIC project. After you’re done, restart your computer and flush your DNS cache by opening a command line like we did earlier (it’s easiest to just Shift+right-click on the desktop) and type the command:
ipconfig /flushdnsNow you should be ready to go! If you want to test that everything is working, type this at the command line:
nslookup google.comThe output should look something like this:
If you run into any problems, leave a comment or send me a message!